A lot has happened since the last update in July. Mainly the tail feathers ( almost literally ) are done now and the fuselage and tail is covered, ready for painting. Aluminum fuselage side panels are ready for painting as well.
August- September 2014

Had to purchase 250 pieces of bamboo from an importer and sort through them to find enough good ones. Requires 3/4 inch and 1 inch sizes, up to 10 foot long ones.

The adapter to accept the center bamboo post

Joined the wood strips to the bamboo using T88 epoxy.

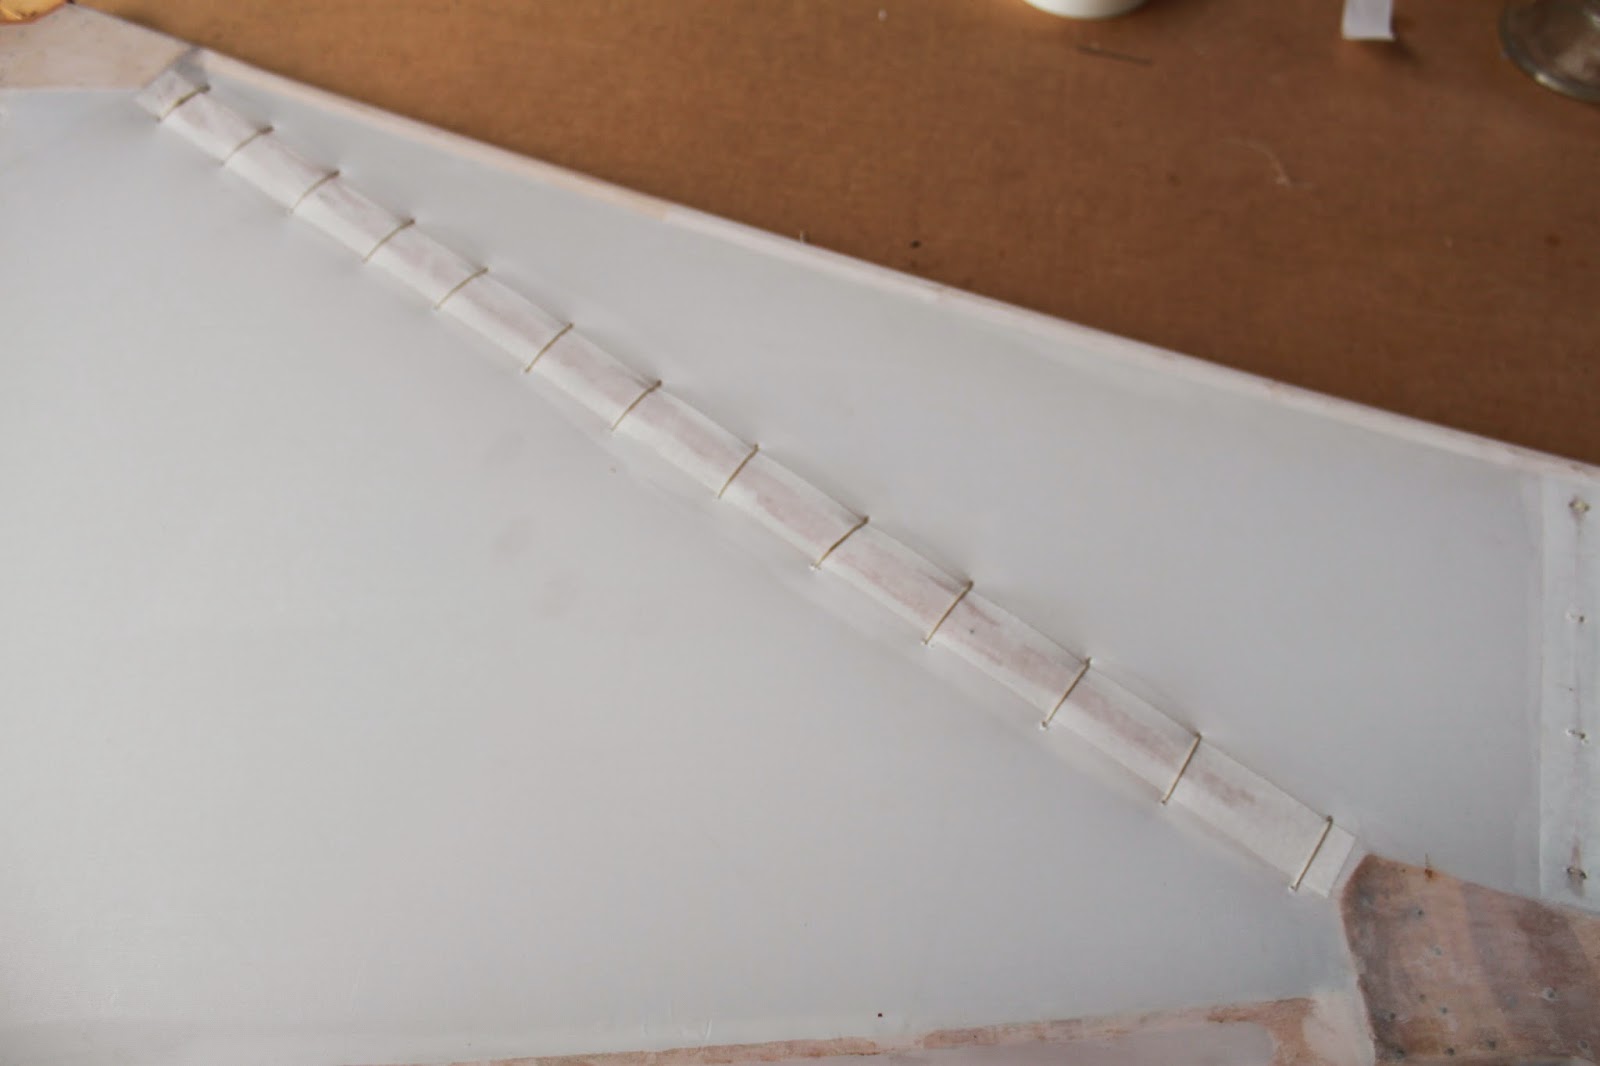
Getting ready to wrap the wood strips and bamboo poles where they meet. Used the NEW Super Seam cement and ceconite tapes.

T88 epoxy

wood strips merged with the bamboo

Tail center bamboo adapter

gluing everything in place with T88

leveling

leveling

If you look closely you can see the nine elevator wires, top and bottom. This is in the most forward control position. Reason for all the tapes is to prevent the poles from splitting.

cable splitter from the two elevator cables to the nine wires going to the bamboo poles

getting ready to secure the wires

some show completed.

looking to the rear, underneath

top view, across

Nodes where the eyelets will get attached to. Lock nut is embedded in the epoxy.

Tip node

Looking forward

from below, looking forward

from above, looking forward

Upper elevator cable and splitter.
September-October 2014
Now comes the fun of covering.
This is where I deviated from the original version, which used linen, coated with Cellon. I assume that was a version of cellulose at that time. Unfortunately it only had a two year life span. After much thinking and research I decided on AC grade Ceconite SF102, 2.7 oz. , after all I want it to last a lot longer.

Starting with the upper fin

step 2
Rib stitching- back side

close up

All by the book,

By the bible

right side fuselage gets started

elevator already covered

starting on left side

more of left side

Tail from below, held on with 1/2 inch double sided seamstick tape and then rib-stitched

More of the elevator

Inspection panel open, seen from front

Open seen from back

Closed

Quarter turn closure fastener

Tail from above, before tensioning

Tail from below, note the merge of double layer to single layer. Glued and rib-stitched

Outriggers in place and tail now stretched

Whole section with outriggers

Better view of tail with outriggers. Lots of rib stitching!